

 Authenticate
 Manage Users
 Customize
 Auth0 AI
 Platform
authorization_details parameter. This parameter accepts a JSON array of objects which may include detailed information about the authorization being requested, such as the specific resources or actions the client wants to access on behalf of the user.
You can render the requested authorization_details to the user using either:
- The browser, by using a customized consent prompt
- A mobile application when using push notifications with the Auth0 Guardian SDK or Auth0 Guardian app
- Register
authorization_detailstypes for the resource server. - Configure the API Access policies to allow your app to request those types.
- Set the customized consent prompt to render the
authorization_details. - Optional: Configure the consent policy for the resource server.
Register authorization_details types
Each object in the JSON array must have a type field, which describes the shape of the object. An authorization_details array may contain multiple entries of the same type.
Auth0 Guardian app
If you’re using the Auth0 Guardian app, then theauthorization_details parameter value must have only one object in the array, and that object must conform to the following Auth0 schema:
The following is an example
authorization_details type with the Auth0 schema:
Other notification channels
Theauthorization_details type does not need to use the Auth0 schema if you aren’t using the Auth0 Guardian app. If you are displaying the authorization_details using a customized consent prompt or your own custom mobile app with the Auth0 Guardian SDK, then the following requirements apply:
- Maximum 5Kb
- Must be valid JSON
- Must be an array of objects
- Maximum of 5 entries in the array
- Every object must have a
typeproperty (that is pre-registered on the API) - Maximum of 10 properties per object
- Maximum character length of property names is 255
- Maximum character length of property value is 255
- Maximum of 5 levels of nested objects
- Property names can only contain the following characters:
a-zA-Z0-9_.-
authorization_details of type money_transfer that does not use the Auth0 schema. It contains the following object fields:
instructedAmount: The amount of money in USD to be transferred.sourceAccount: The source bank account from which the money will be transferred.destinationAccount: The destination bank account to which the money will be transferred.beneficiary: The recipient of the money transfer.subject: The subject line of the money transfer.
authorization_details types for a resource server, which is similar to registering allowed scopes. You can register authorization_details types with the Auth0 Dashboard or Management API.
- Auth0 Dashboard
- Management API
To add 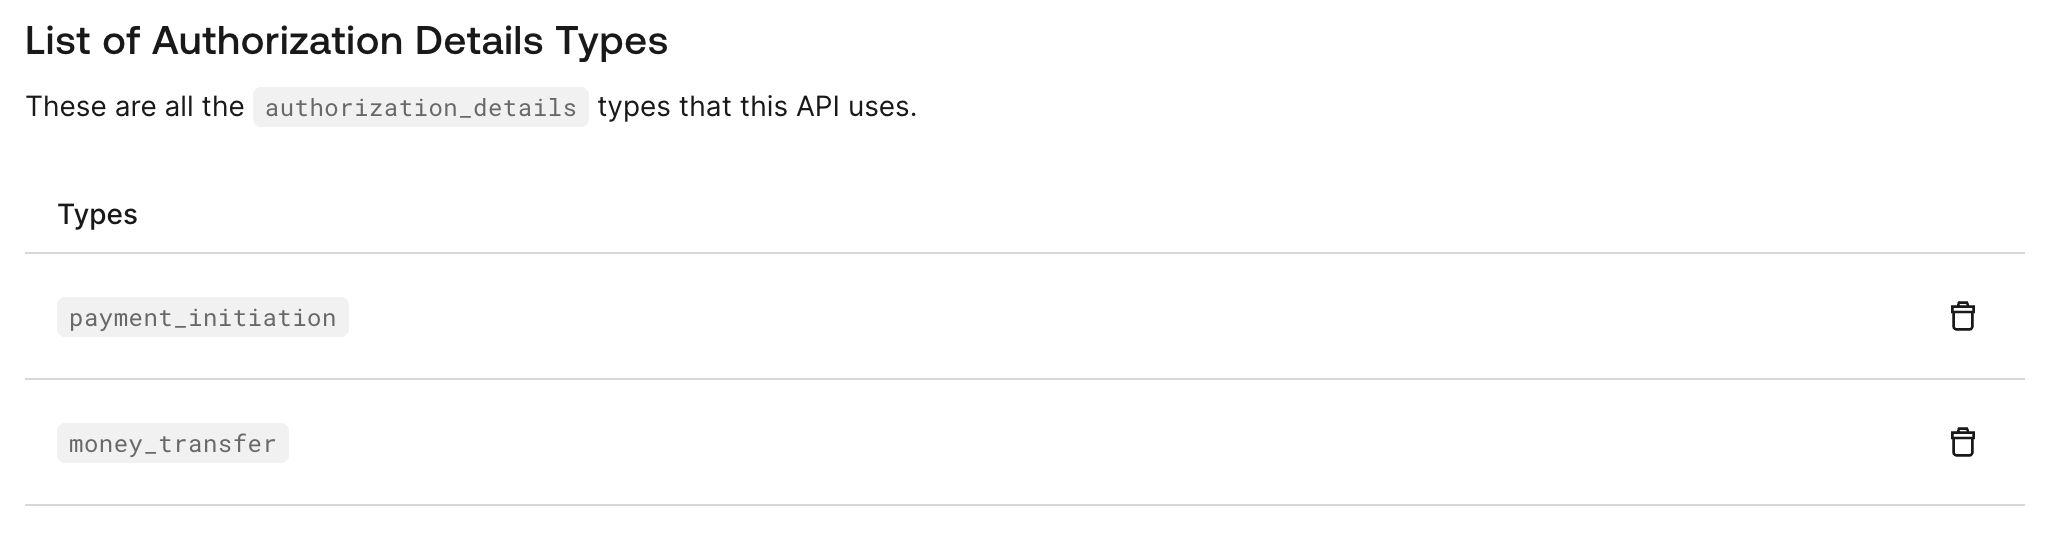
authorization_details in the Auth0 Dashboard:- Navigate to Auth0 Dashboard > Applications > APIs.
- Select the Permissions tab.
- Under Add an Authorization Details type, you can add multiple
authorization_detailstypes for your resource server. Enter anauthorization_detailstype - Select the +Add option.
authorization_details types for your resource server under List of Authorization Details Types:Configure the API Access policies
API Access Policies for Applications control what applications can access your APIs and what scopes orauthorization_details types they are allowed to access.
You can check your API’s current policy using the Management API. Make a GET request to the Get a resource server endpoint and check the subject_type_authorization property in the response:
subject_type_authorization property has values for client.policy and user.policy:
- If the policy value is
allow_all, then applications or users can request allauthorization_detailstypes registered for the API. - If the policy value is
require_client_grant, then each type ofauthorization_detailsmust be explicitly allowed by the client grant for that application. - If the policy value is
deny_all, then no application or user can request any of theauthorization_detailstypes registered for the API.
Set customized consent prompt
You can render theauthorization_details of a Rich Authorization Request in the consent prompt. To do so, configure the customized-consent prompt with the appropriate template partials.
You can set the customized consent prompt using the Auth0 CLI or Management API.
Auth0 CLI
To configure the customized consent partials, run theauth0 ul customize command with the appropriate flags in your terminal:
Management API
To configure the customized consent partials, make aPUT request to the /prompts/customized-consent/partials endpoint:
authorization_details in the following consent prompt that Auth0 shows to the end user:
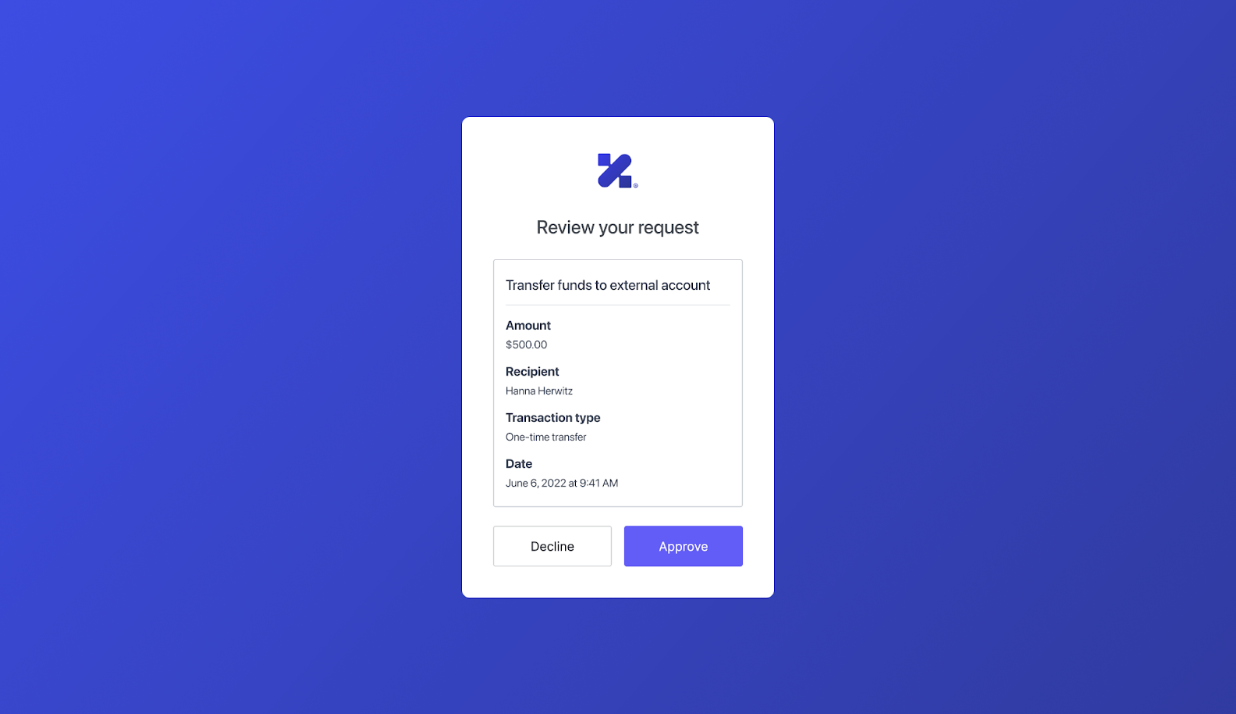
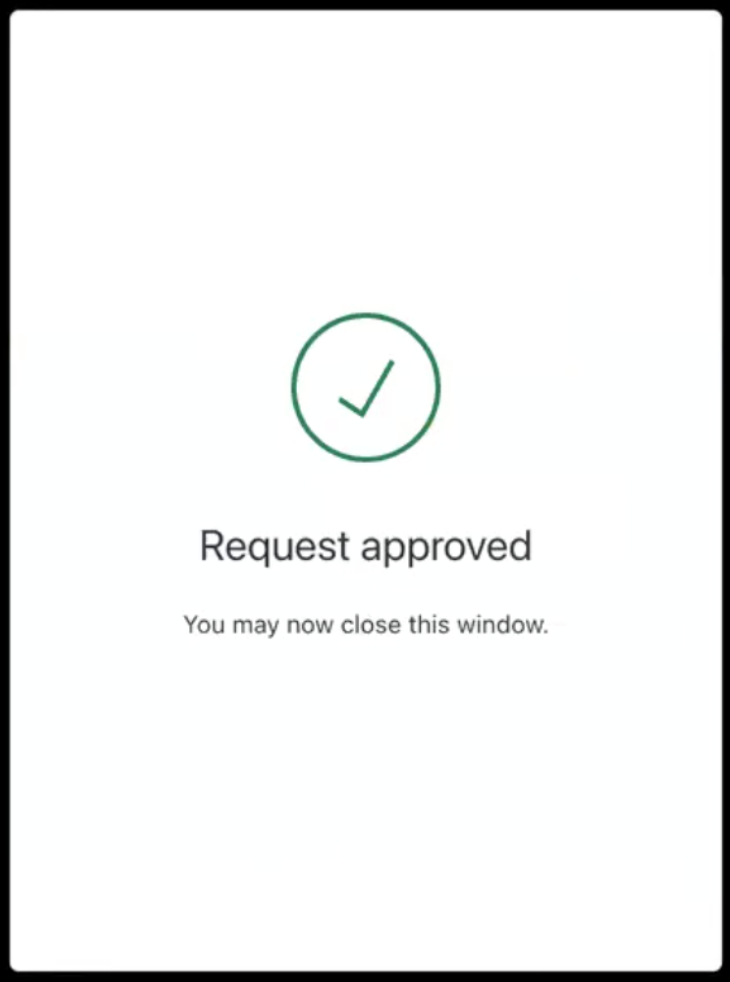
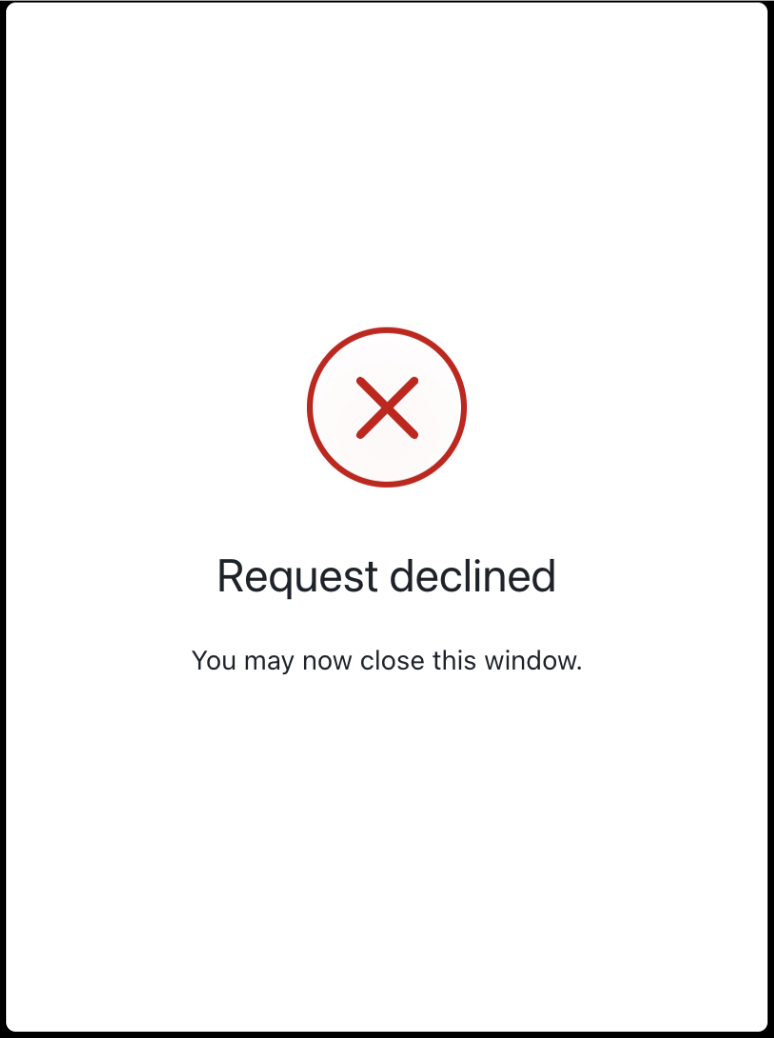
- Customize Universal Login Pages
- Customize Universal Login with the No-Code Editor
- Set partials for a prompt API documentation
Optional: Configure consent policy for the resource server
The resource server’s consent policy determines whether Auth0 stores theauthorization_details values and makes them available to mobile applications when a push notification is sent.
Review Auth0’s standard consent policy behavior for a request containing authorization_details:
Customers can also set the
consent_policy to transactional-authorization-with-mfa, which has the following behavior:
You can set the consent policy for a resource server with the Auth0 Dashboard or Management API.
- Auth0 Dashboard
- Management API
Set the consent policy in your API settings using the Auth0 Dashboard.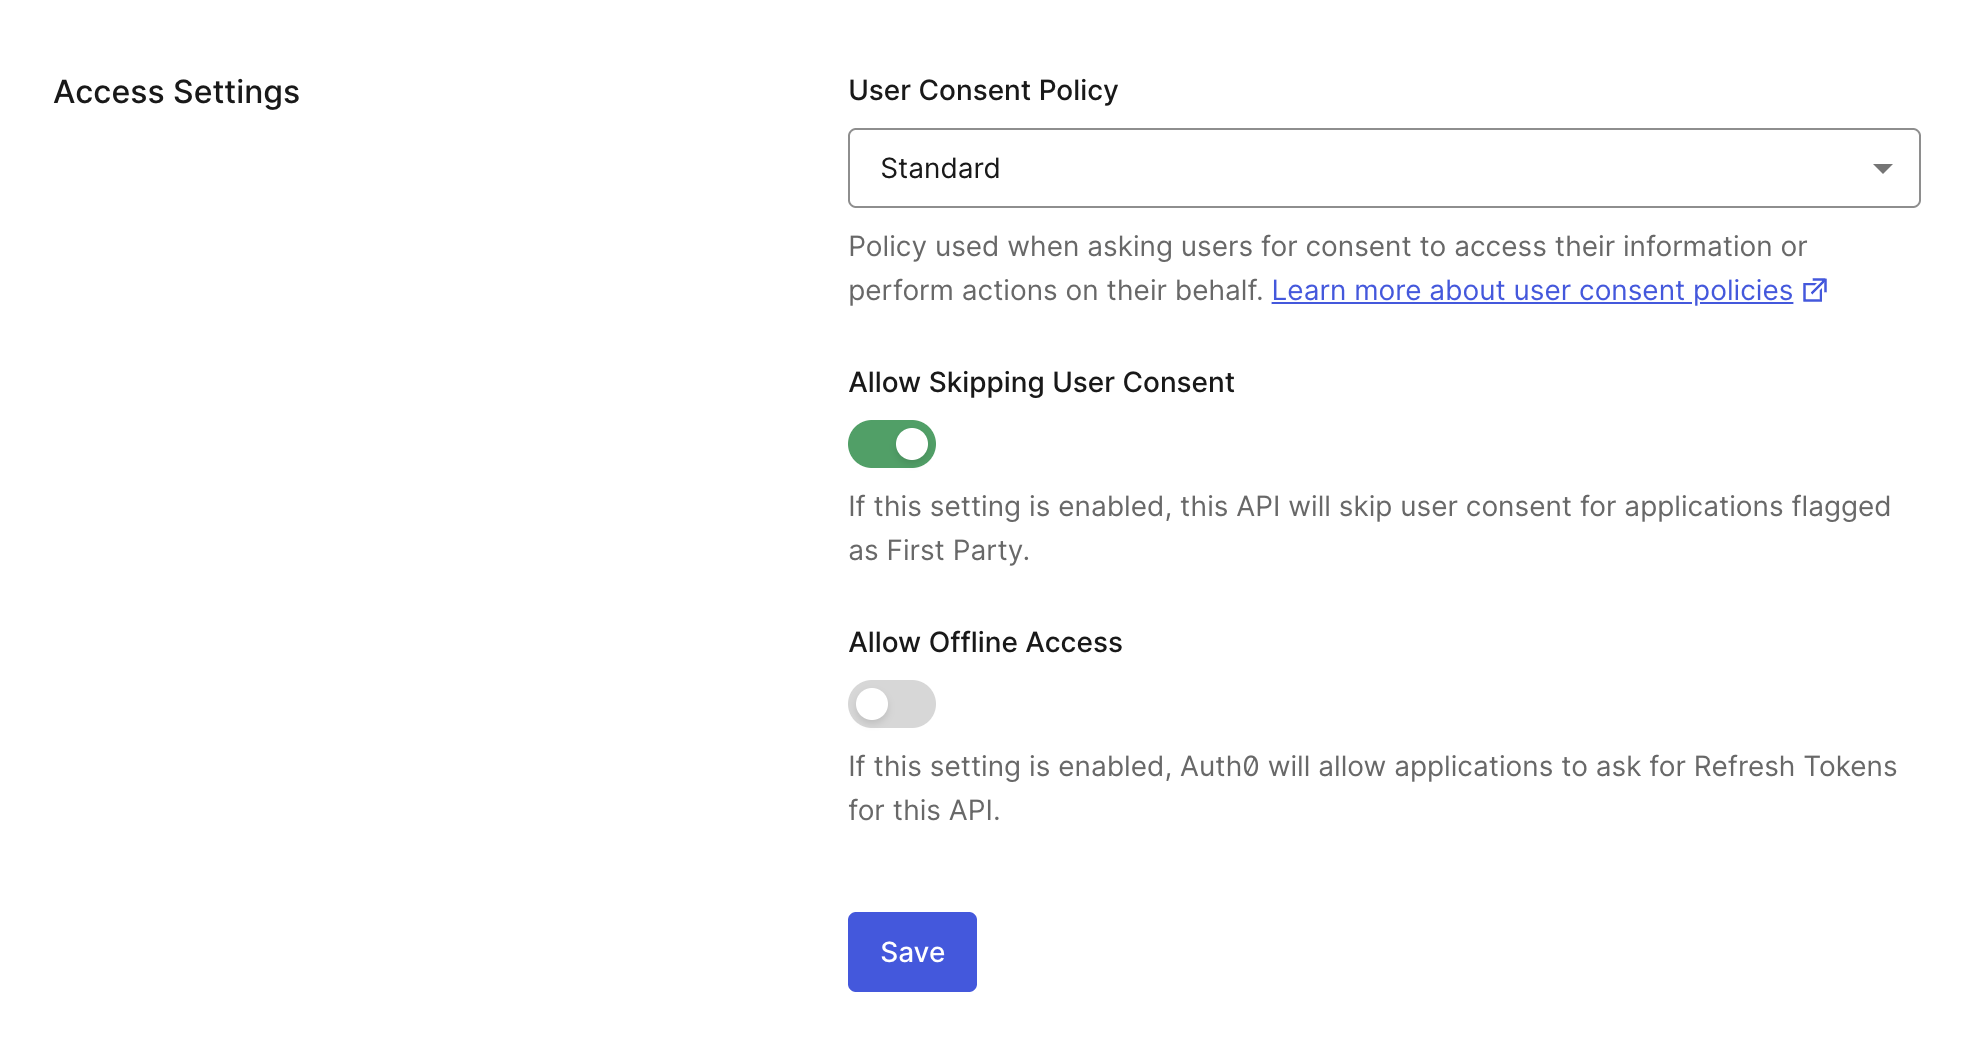
- Navigate to Auth0 Dashboard > Applications > APIs.
- Select the Settings tab.
- Under Access Settings, choose the Standard consent policy.
- Save your changes.